
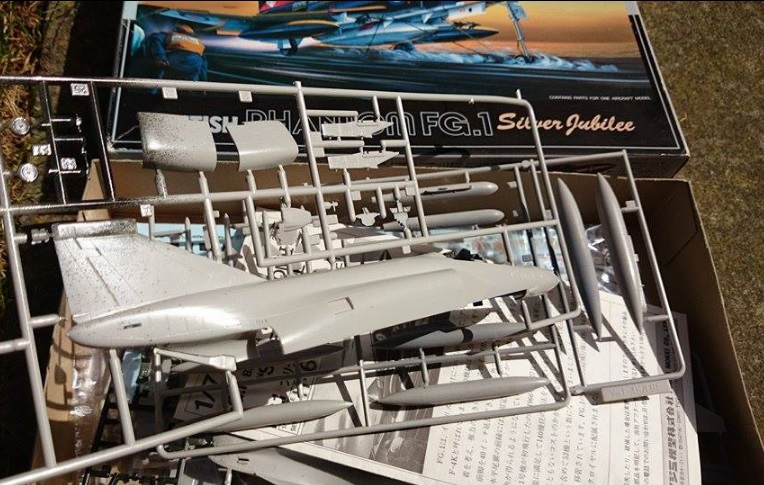
I decided that it was about time - ahead of the forthcoming release from Airfix of a new 1:72nd scale RAF F-4 Phantom FG.1 - to build the Fujimi British 'Toom' - apparently one of the Top 100 model kits that you absolutely must build, according to a feature in SAM a few years ago. While availability of these is patchy, they do crop up on ebay now and again and there's always Hobby Link Japan. So I have a few in the stash. There was also a limited reissue a few years ago. This is a kit that has aged very well, so as well as starting the kit, I'll take a quick look at its history.
The Fujimi kits have been around since 1988. They must have have been state-of the-art back then . They look pretty good in the box even now; recessed panel lines, neat detail, good quality decals, a full stores package - and centre-line gun pod for the RAF version - and they capture most of the nuances of the F-4K/M airframe perfectly. The Fujimi kits have been released in many different boxings, usually correctly representing the particular airframes covered (e.g. with slotted stabilators or not, and different tail fins - with RWR or without).
There were four kits issued originally (Firebirds, Shark Teeth, Silver Jubilee and Yellow Bird), then two special editions with some white metal and etched brass parts to improve the cockpit, Alcock and Brown and the 25th Anniversary scheme worn by XT 597 (raspberry ripple, including a new Doppler radome).


These were followed by four re-issues of the original releases; same decals, new box art and various upgrades to the molds - e.g. separate flaps, corrected auxiliary inlet doors (see below), better detailing on the jet pipes and so on. Vinyl wheels are supplied in the newer editions (see below) although I guess I'll be employing the plastic versions.


Those were followed by three limited editions, all using the upgraded molds and new decals (Black Mike, Bye Bye Blue, Treble One). Most recently there have been re-issues of the Alcock and Brown and 25th Anniversary kits (but no metal parts this time, and mistakenly includes FG.1 nose gear and catapult attachment points). The upgraded mold kits are obviously worth seeking out over the earlier releases - as mentioned the original kit jet pipes are vastly improved in the newer editions - but this is not to say you shouldn't pass up the opportunity to get any boxing, as the basic kit is pretty good regardless of the improvements made to the later releases.

 The canopy is supplied both as a single piece 'closed' example and a four piece version so you can pose the canopies open. There are a few minor problems - the original release has the fuselage side auxiliary intake doors in the wrong place, and the belly aux intake doors can't be modelled open (both issues fixed in the later releases). One area that is poor are the main intakes - there is no trunking and they end at a blank wall with no representation of the engine compressor face- I've photocopied a photo of a generic compressor face, reduced it, and stuck it against the back wall- a little overscale as it happens (left), but at least there is something there...
The Sidewinders included are AIM-9Es which British Phantoms did not use. The cockpit is perhaps a little disappointing, with some dark decals providing generic detail- decided not to use them here and just paint the molded detail. The rear cockpit side-wall parts (nos 45 and 46) are inaccurate and don't fit very well at all so I may just leave these out. All in all, some pretty minor issues though.


Above; the result of an afternoon's work. Cockpit assembled and fuselage halves together. Below; a second afternoon to assemble the intakes and the wings..

.
Also on this blog;
http://falkeeinsmodel.blogspot.co.uk/2017/01/british-raf-f-4-phantoms-new-f-4.html


